
Kombucha has been gaining popularity over the past few years. It may seem new and trendy but Kombucha has been made for thousands of years. China, Japan and parts of eastern Europe are where it originated. Now, Kombucha can be found almost anywhere and is widely commercially available.
Kombucha has amazing health benefits. It is packed with probiotics that provide your gut with healthy bacteria. These bacteria can improve many aspects of health, including digestion, inflammation and even weight loss. It’s also super tasty!
Instead of picking your favorite at the store, you can make your own at home too! It’s easier than you might think.

What you will need:
- 1 Gallon jar
- 2-4 flip top bottles
- Large rubber band
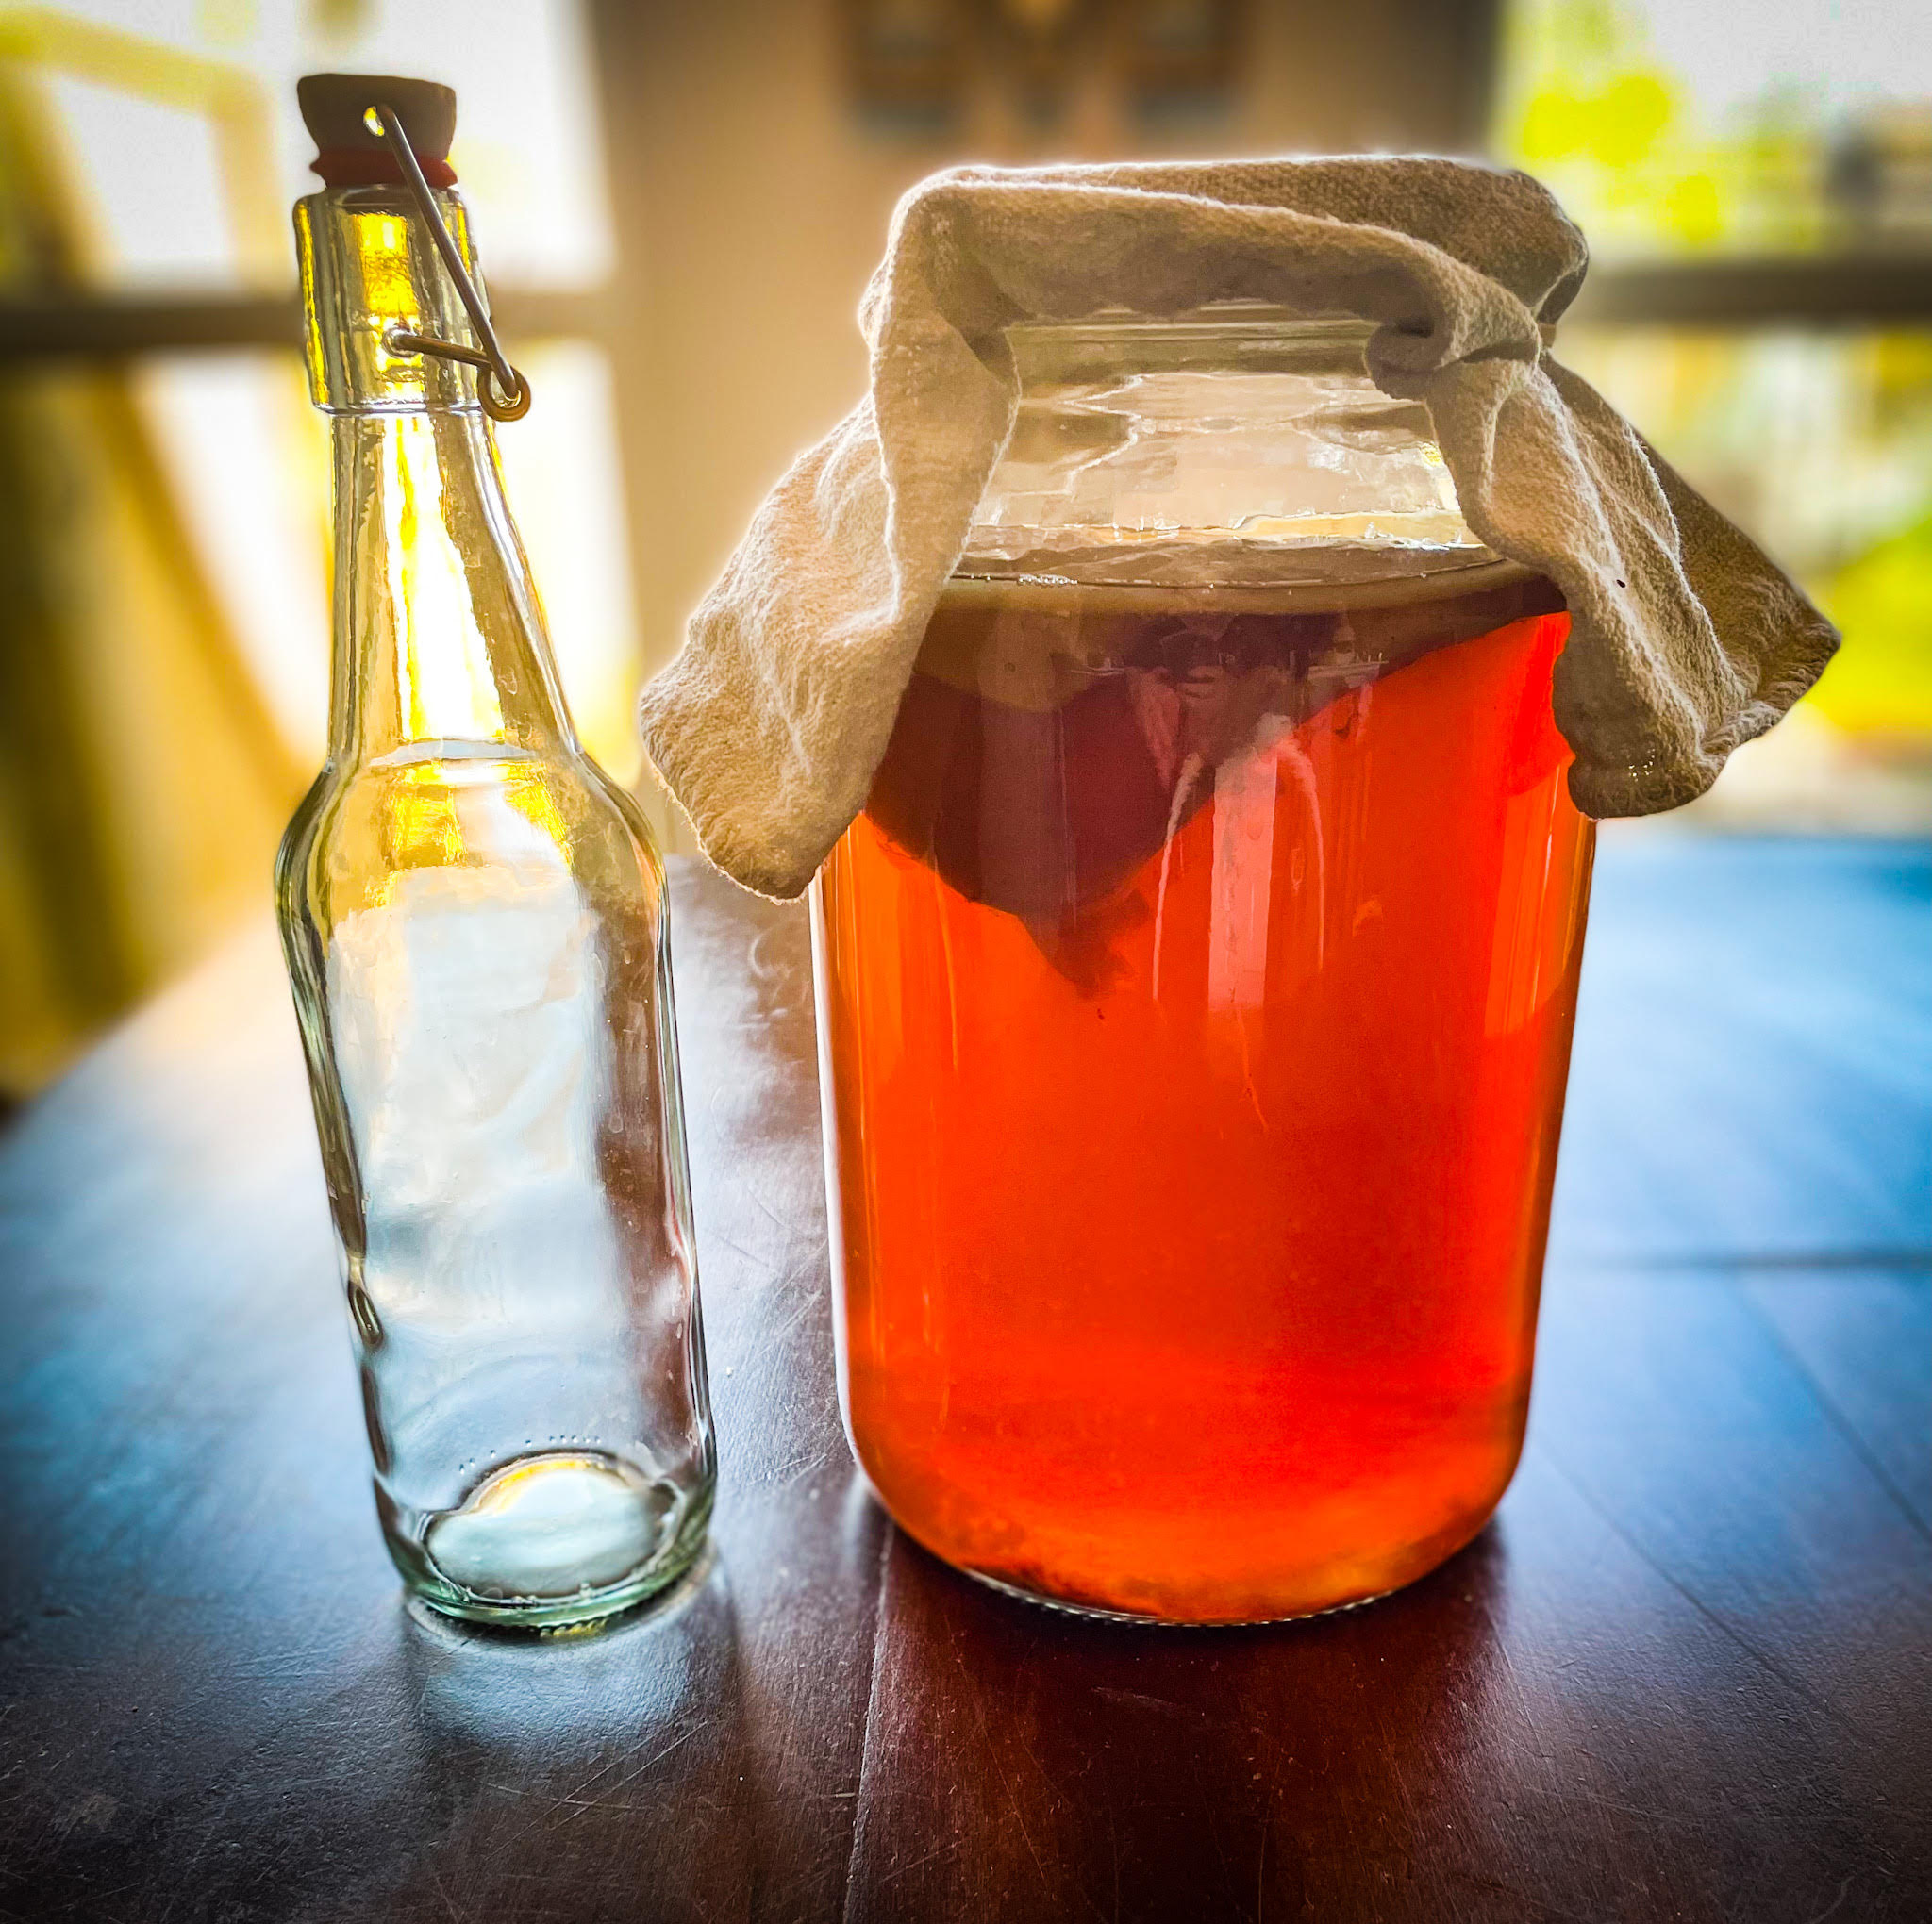
- Paper towel or cloth (tea towel or other cotton cloth)
- SCOBY and starter tea
- 6-9 Black tea bags
- 1 cup Sugar
- Kitchen thermometer
- Water
- Funnel
- Fruit of your choice for flavor
What is a SCOBY?
A SCOBY, which stands for “symbiotic culture of bacteria and yeast,” is the main ingredient used in the production of kombucha. It also hosts a variety of yeast and bacteria species that aid the fermentation process. To start a batch of kombucha you will need a SCOBY and two cups of starter liquid.
You can purchase a variety of SCOBY from retailers like Amazon. The SCOBY will usually come with the starter liquid as well (be sure to check the description). I’ll discuss the importance of starter liquid for future brews later on.
Instructions:
- Fill up half your jar with hot water and add your tea bags. Let them steep for 15 mins. (WARNING: Do not add boiling water to a cool jar or it could shatter);
- Remove your tea bags and add one cup of sugar to the tea in your jar. Stir until the sugar is dissolved;
- Fill the remainder of the jar with cool water, leaving enough room for your two (2) cups of starter liquid and SCOBY. This cool water needs to bring down the temperature to around 80-85 degrees Fahrenheit;
- Once your tea reaches 80-85 degrees Fahrenheit, pour in your SCOBY and starter liquid. Stir gently;
- Cover the jar with a cloth and secure it with a rubber band.
- Place the jar an a cool dark place and let it ferment for 7-14 days.
- After about a week, taste your brew and see if the amount of tartness is to your taste. The longer the tea ferments the more acidic it will become.
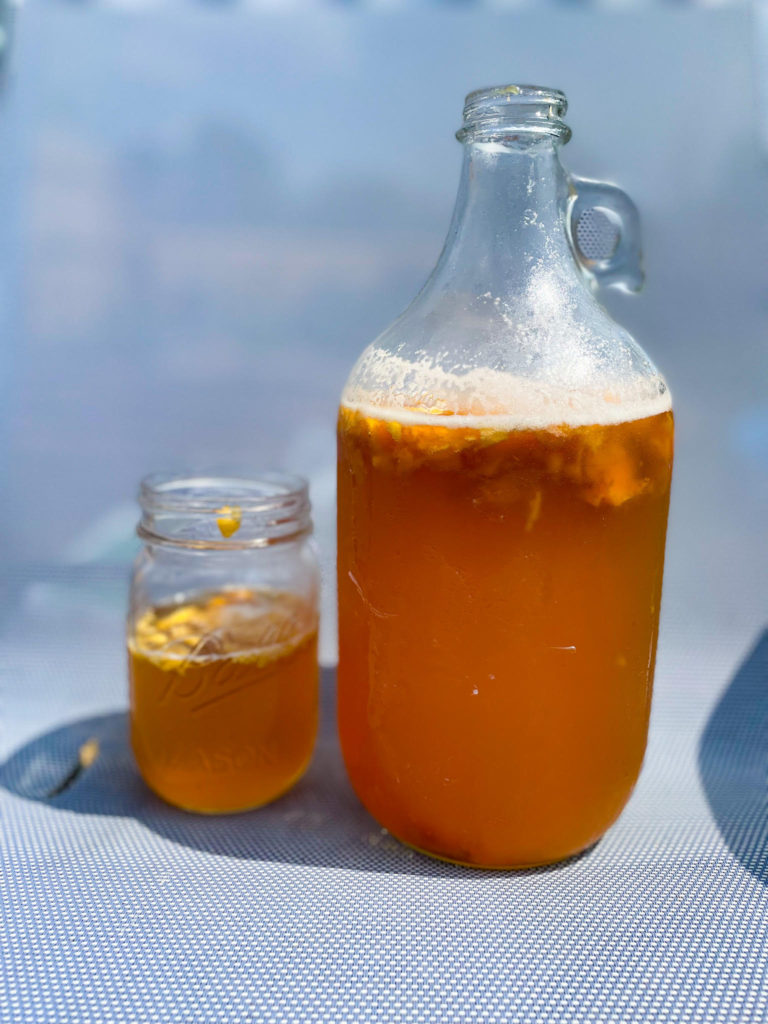
Its Bottling Time! (a.k.a 2nd fermentation)
Once your tea is finished fermenting, it’s time to bottle and add your flavors! Some of my favorite flavors are strawberry and pineapple but you can experiment with whatever you like. (Note: Make sure to use bottles that can be sealed air tight).
- Start by adding a few tablespoons of crushed fruit (or juice) to your bottle;
- Use your funnel and fill the bottle almost all the way with your fermented tea (leaving about one (1) inch headspace);
- Seal your bottle(s).
Allow your bottles to continue fermenting at room temperature for 3-10 days, or until your desired carbonation is reached. Once your bottles are nice and carbonated, place them into the refrigerator. In my experience, the fruits with higher sugars tend to carbonate faster.
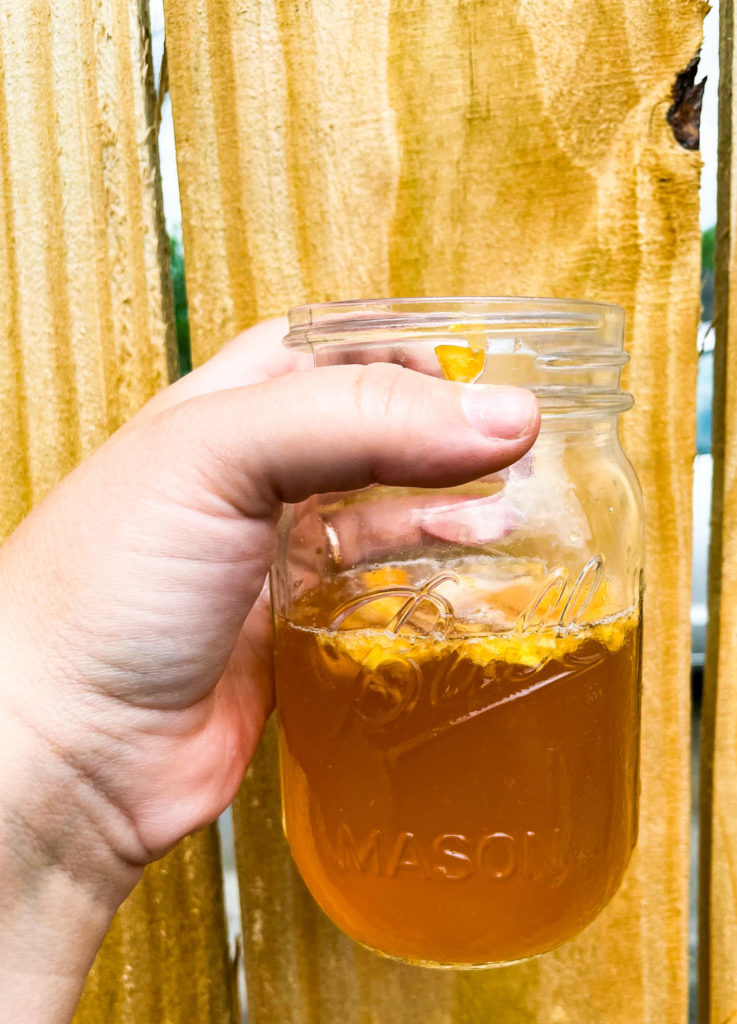
You can then enjoy your kombucha with the fruit or strain it out before serving.
Enjoy your fresh and tasty beverage!
Side Notes and Tips
Some people say to “burp” your bottles so they wont explode from the pressure being built up. I have not had this happen in my experience. But, If you are worried about this happening then you can release a little pressure every couple of days or so. If you decide to “burp” your bottles it may take longer to reach your desired carbonation.
I noted earlier that “starter liquid” comes with the SCOBY you’ll purchase. After you brew your first gallon of tea, you now have your additional “starter liquid” for additional batches . You can also re-use the mother SCOBY from your original brew in subsequent brews.